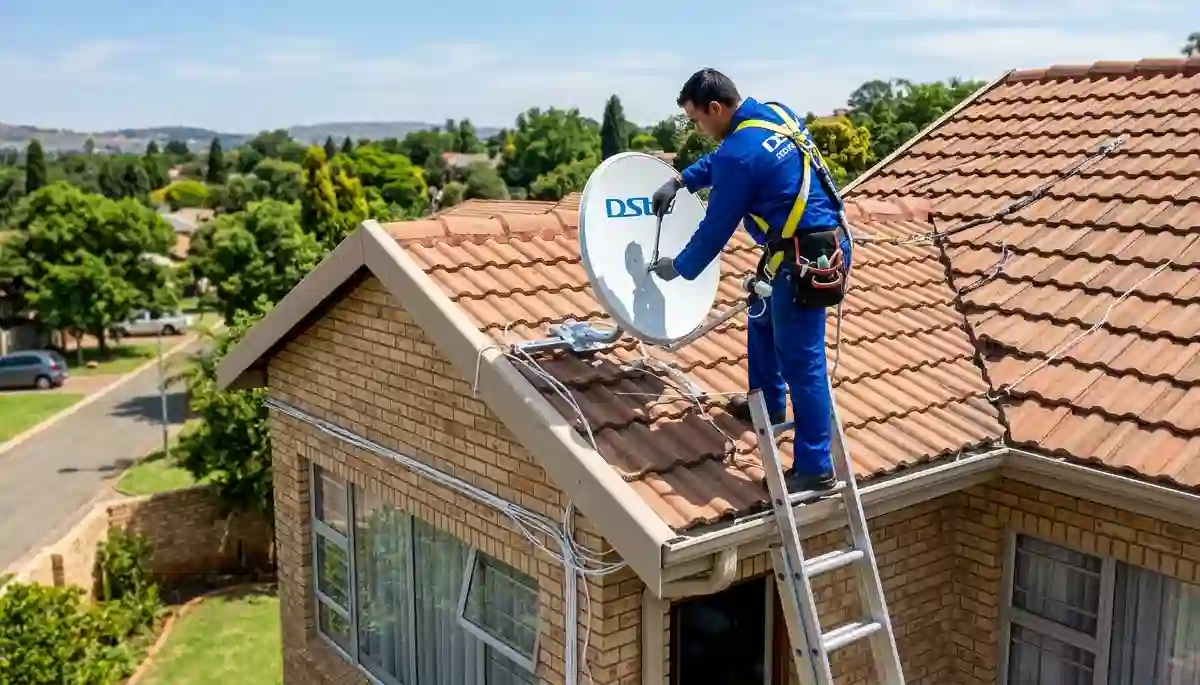
Professional satellite dish installation on a Centurion roof – proper preparation ensures a smooth process
DStv Installation Requirements: Complete 2026 Checklist for Centurion Homes
Did you know that 30% of DStv installations are delayed because homeowners aren’t properly prepared? After 17 years and over 15,000 successful installations across Centurion and Pretoria East, we’ve seen it all – from homeowners who forgot to clear access to their roof to those who didn’t realize their complex required special approvals.
At DSTV Installers Centurion, we want your installation to be seamless. That’s why we’ve created this comprehensive DStv installation requirements guide. By the end of this 4,000-word resource, you’ll know exactly what to prepare, what common mistakes to avoid, and how to ensure your satellite TV installation goes smoothly from start to finish.
📋 Quick Checklist: What You Need Before We Arrive
✅ Essential Prep:
- Clear northern sky access
- Valid DStv smartcard
- Working power outlets
- Clear work areas
✅ Often Forgotten:
- Estate/body corporate approval
- Gate remote/access codes
- Pet arrangements
- Questions written down
👉 Pro tip: Save this page or print our checklist. Being prepared can save you R300-R600 in additional call-out fees. Request a DStv quote today and we’ll walk you through everything.
Why Proper Preparation Matters for Your DStv Installation
In our 17 years serving Centurion, Midstream, Irene, and Pretoria East, we’ve learned that prepared homeowners have significantly better experiences. Here’s why taking 30 minutes to prepare matters:
- Faster installation: Prepared homes take 40% less time – saving you R150-R300 in labour
- Better signal quality: When we can access the optimal dish location, signal strength improves by up to 15%
- No hidden surprises: Unexpected access issues can add R500-R1,000 to your final bill
- Long-term reliability: Proper planning ensures your installation lasts for years
Whether you’re getting a HD decoder installation, Explora decoder setup, or a complex Extra View installation, the preparation steps are largely the same. Let’s dive into exactly what you need.
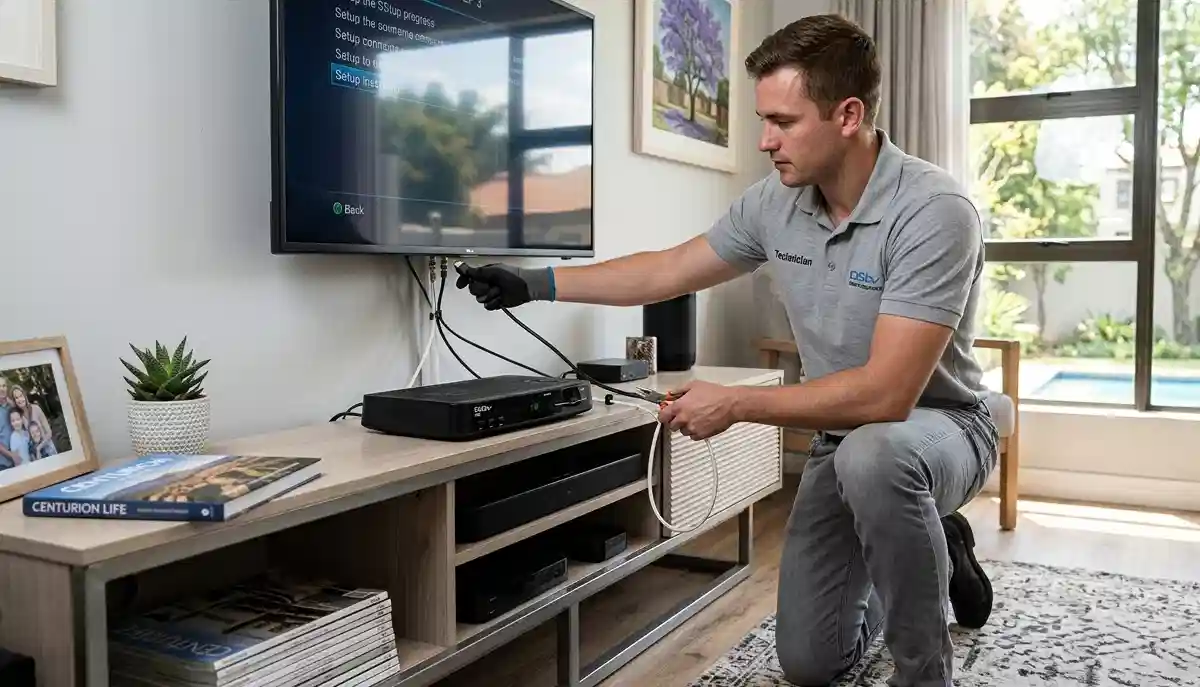
HD decoder installation – proper indoor preparation ensures quick setup
1. Space Requirements: Where Your DStv System Will Go
The most critical factor for a successful satellite TV installation is finding the right location for your dish and decoder. Here’s what we need:
Outdoor Dish Placement Requirements
| Requirement | Details | Why It Matters |
|---|---|---|
| Northern exposure | Dish must face north (between 310° and 10°) | DStv satellites are positioned in the northern sky |
| Clear line of sight | No trees, buildings, or structures blocking the path | Obstructions cause signal loss, especially in bad weather |
| Minimum 1m² clear area | Space around the mounting point | Technicians need room to work safely |
| Solid mounting surface | Brick wall, tiled roof, or concrete | Flimsy surfaces compromise stability and signal |
| Accessible height | Ideally within ladder reach (under 5m) | Very high installations require special equipment (extra cost) |
Common Dish Placement Mistakes We See in Centurion
- Behind trees: In established suburbs like Lyttelton and Clubview, mature trees cause major signal issues. We can often find alternative spots, but it’s best to identify this beforehand.
- Under eaves: Some homeowners think hiding the dish under roof overhangs looks better – but this severely impacts signal.
- Near chimneys: Heat and smoke can damage LNBs over time.
- South-facing walls: This simply won’t work – the dish needs northern exposure.
If you’re unsure about your property’s suitability, our satellite dish placement guide can help. We also offer free site assessments – request a quote and we’ll check your location before scheduling.
Indoor Decoder Placement Requirements
| Requirement | Details | Why It Matters |
|---|---|---|
| Near TV (within 2m) | Decoder should be close to your television | HDMI cables have length limitations for 4K/HD quality |
| Power outlet within 1m | Dedicated power point for the decoder | Extension cords can be trip hazards and affect performance |
| Ventilation space (10cm clearance) | All sides should have airflow | Decoders overheat if enclosed – leading to failure |
| Stable, level surface | TV stand, cabinet, or wall mount | Prevents accidental knocks and falls |
| WiFi signal (for Explora) | If using Catch Up/Showmax, good WiFi needed | Weak WiFi causes buffering and slow menu response |
Pro tip: If your TV area has weak WiFi, our WiFi extensions for streaming service can help. Many Centurion homes with thick walls need this for optimal DStv Internet performance.
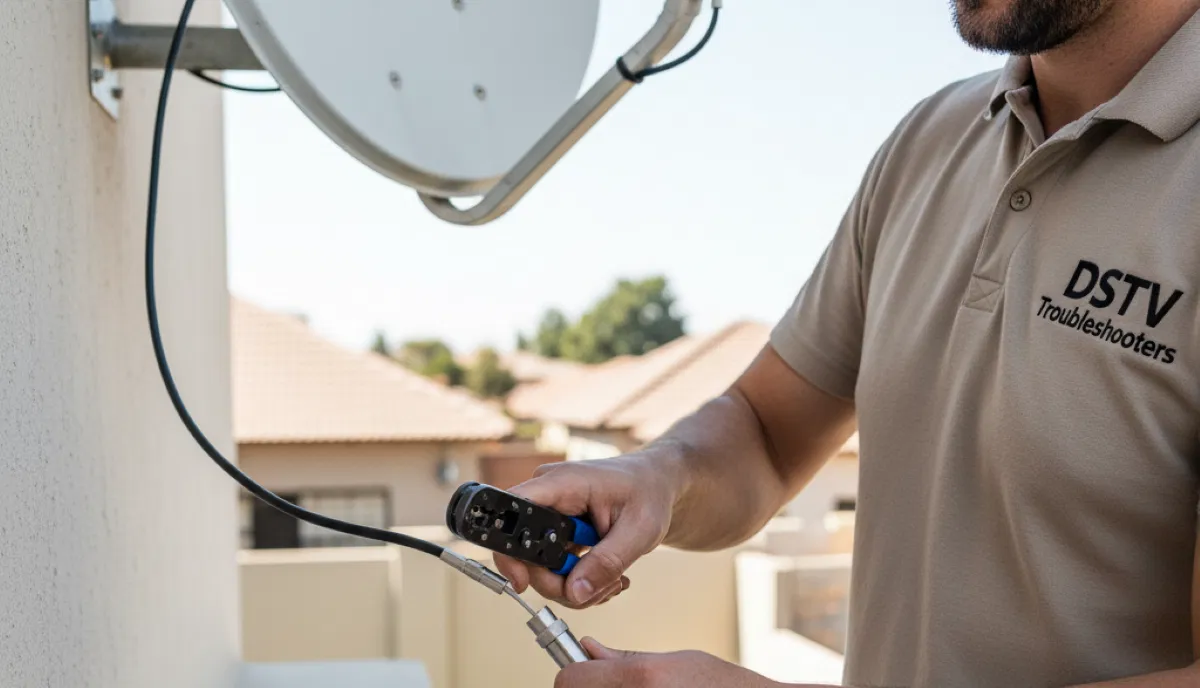
Professional coaxial cable termination – quality connections prevent signal loss
2. Equipment Checklist: What You Need to Have Ready
We provide all technical installation equipment, but there are several items you need to prepare beforehand. Use this checklist to ensure nothing is missed.
Essential Items You Must Provide
| Item | Purpose | What If You Don’t Have It? |
|---|---|---|
| Valid DStv smartcard | Activates your subscription and authorises channels | Installation cannot be completed – rescheduling fee applies |
| Active DStv subscription | Service must be active on your account | We can install, but you won’t have channels until activated |
| Your decoder (if you have one) | The main unit that decodes the signal | We can supply decoders at competitive prices – let us know beforehand |
| TV with HDMI port | Connects to decoder for picture display | We can use composite cables for older TVs (picture quality lower) |
| Remote control (with batteries) | For navigating menus and settings | We carry spare remotes (R150-R250) |
Optional But Helpful Items
- HDMI cable: We include a basic 1m cable, but if you need longer, we have premium HDMI extensions available (R150-R400 depending on length).
- WiFi password: For Explora decoders needing Catch Up/Showmax setup.
- Surge protector: Highly recommended to protect your equipment during loadshedding.
- External hard drive: For PVR recording (Explora has built-in storage).
- List of questions: Write down anything you want to ask about using your system.
What We Supply (Included in Installation)
- Satellite dish (60cm standard, 80cm available for weak signal areas)
- LNB (Single, Quad, or Octo depending on your setup)
- RG6 coaxial cable (up to 15m included – longer runs charged per meter)
- Wall plates and connectors
- Mounting brackets and hardware
- Basic HDMI cable (1m)
- All tools and testing equipment
💰 Hidden Costs to Avoid
From our experience, these are the most common unexpected expenses:
- Extra cable: R50-R100 per meter beyond 15m – measure your distance!
- Wall fishing: R400-R800 if cables need to run inside walls (tell us beforehand so we can quote accurately)
- Complex roof access: Very high or steep roofs may need special equipment
- Estate admin fees: Some complexes charge for installation access – check with your HOA
We always provide itemised quotes before starting. DStv installation costs are transparent with us.
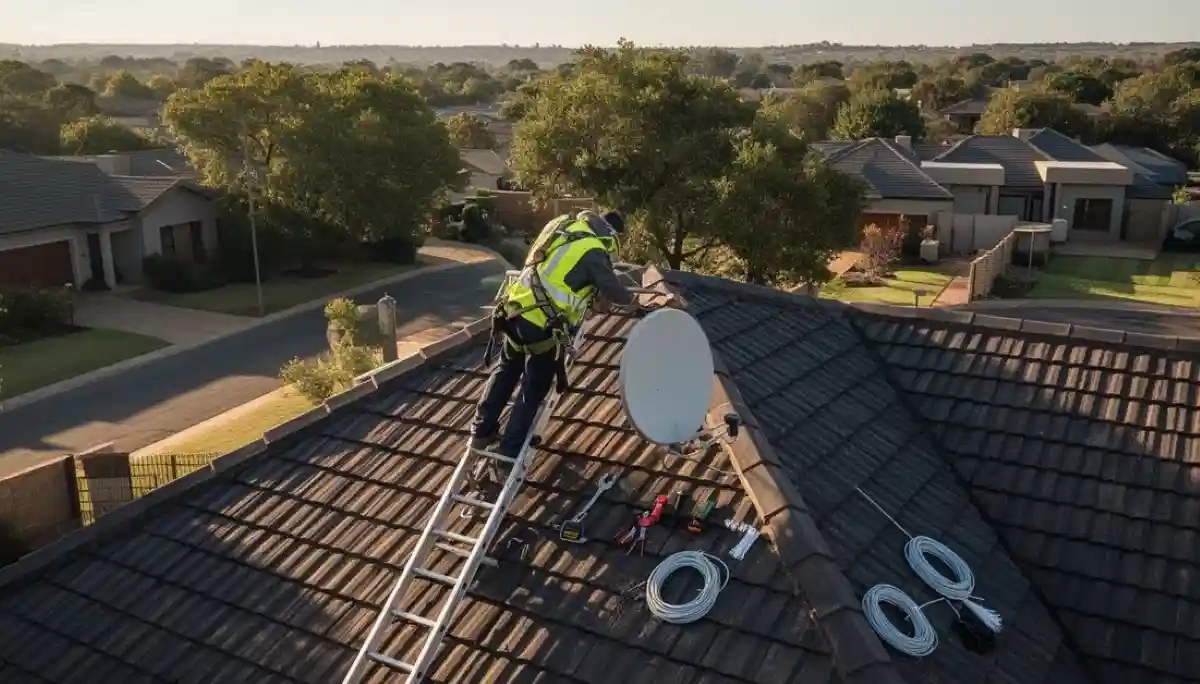
Safe roof access is essential – please ensure ladders can reach the installation area
3. Unexpected Requirements: What 47% of Homeowners Forget
Based on our installation records, these items surprise nearly half of our customers. Don’t let this be you!
Access & Security
| Item | Why It’s Needed | Preparation Tip |
|---|---|---|
| Gate remote/access code | Technicians need to enter your property | Leave with security or provide code beforehand |
| Complex/estate approval | Many HOAs require written permission | We can help with paperwork – ask us! |
| Locked roof/outside doors | Access to dish location | Unlock or provide keys before we arrive |
| Pet arrangements | Dogs can interfere with outdoor work | Secure pets indoors during installation |
| Parking arrangements | Technician vehicle needs close access | Save a parking spot if in a busy area |
Documentation
- ID document: For account verification (especially for new accounts)
- Lease agreement: If renting, you may need landlord’s permission
- Body corporate rules: Some complexes have specific installation guidelines
- Previous installation details: If reusing old cabling, tell us beforehand
Electrical Considerations
- Working power outlets: Test outlets near TV before we arrive – faulty electrics delay installation
- Load shedding preparation: Consider inverter/UPS if you want TV during outages
- Extension cords: If needed, ensure they’re heavy-duty (not thin appliance cords)
The R800 Lesson: A Midstream homeowner forgot to mention their complex required HOA approval. Our technician arrived, couldn’t install, and had to reschedule. The customer paid R400 for the wasted call-out and lost a day’s leave. Now we always ask – but please, check with your estate beforehand! DStv installers in Midstream know every estate’s rules, but we still need your approval.
4. Time-Saving Preparation Tips
These simple steps can reduce your installation time by 30-45 minutes – saving you money and getting you watching faster.
Before Installation Day
- Clear the work areas:
- Move furniture away from the TV location (2m clearance)
- Clear the area below where the dish will be mounted
- Remove obstacles from pathways (gardening tools, kids’ toys, etc.)
- Mark your preferences:
- Use painter’s tape to indicate where you want the decoder
- Mark desired cable routing paths (inside walls, along skirting, etc.)
- Indicate any areas you don’t want cables to run
- Test your TV inputs:
- Make sure you know how to switch to HDMI/AV inputs
- Have your TV remote handy during installation
- Check your internet speed (for Explora):
- Run a speed test near your TV location
- If below 10Mbps, consider WiFi extensions before installation
On Installation Day
- Be home (or have someone 18+ present):
- We need someone to make decisions and sign off
- If you can’t be there, arrange for a responsible person
- Keep children and pets away:
- Safety first – installation involves ladders and tools
- Pets can be curious and get in the way
- Have your questions ready:
- Write down anything you want to ask about using your system
- Common questions: recording, parental controls, channel lists
- Ensure clear access:
- Gate open or remote ready
- Parking spot available for our vehicle
- Pathways clear
⏱️ Typical Installation Times
- Single TV (basic): 60-90 minutes
- Single TV (Explora): 75-105 minutes
- Extra View (2 rooms): 2-3 hours
- Extra View (3-4 rooms): 3-4 hours
- Complex installations (wall fishing, etc.): 4-6 hours
Our how to install DStv guide explains the process in detail. Prepared homes consistently fall on the lower end of these ranges.
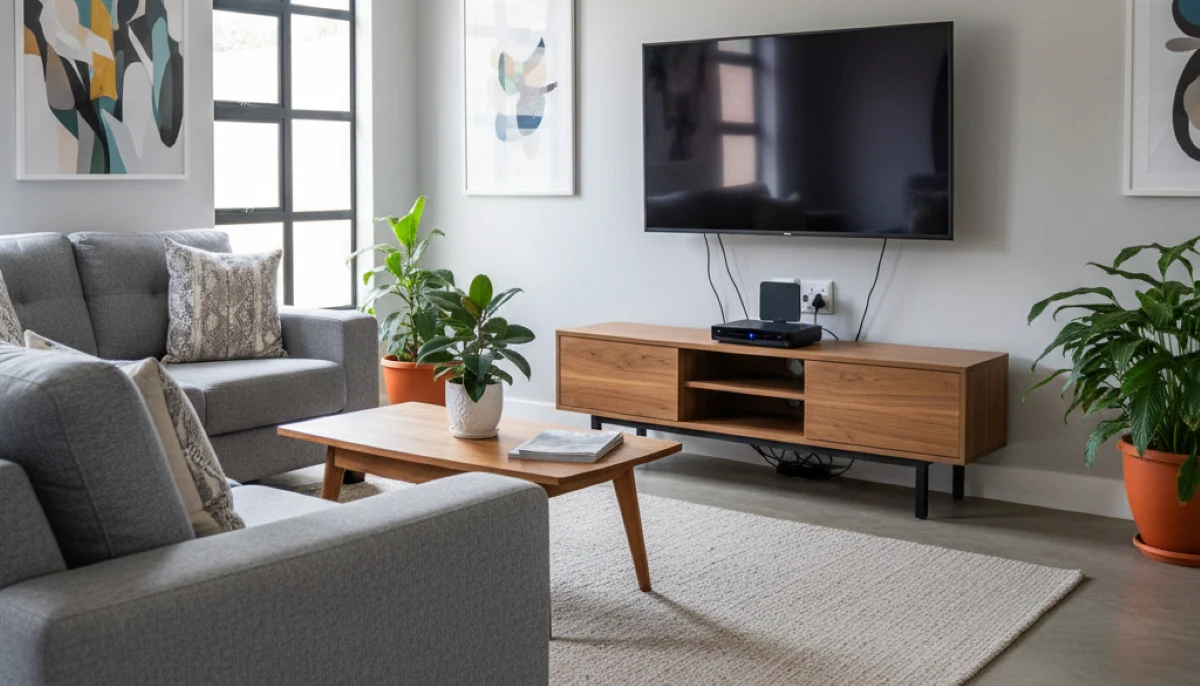
Modern living room with professionally installed entertainment system – proper planning makes it possible
5. Professional Installation vs DIY: The Real Cost of Getting It Wrong
Every month, we get calls from homeowners who tried DIY installation and ended up with problems. Here’s why professional satellite TV installation is worth the investment:
What Professional Installation Includes
- Signal optimization: We use professional meters to achieve perfect alignment – DIY “point and hope” rarely works
- Weatherproofing: All connections properly sealed against rain – DIY often leaks
- Cable management: Professional routing with wall plates – no messy cables
- Warranty protection: 12-month guarantee on all work – DIY fixes come out of your pocket
- Future-proofing: We install with extra capacity for upgrades like extra TV points
Common DIY Mistakes We Fix
| DIY Mistake | Consequence | Professional Fix Cost |
|---|---|---|
| Poor dish alignment | Intermittent signal, pixelation, channel loss | R450-R600 realignment |
| Unsealed connections | Water damage, LNB failure, signal degradation | R750-R1,200 replacement |
| Wrong LNB type | Can’t use Extra View or multiple rooms | R450-R850 LNB replacement |
| Poor cable routing | Weather damage, trip hazards, ugly appearance | R500-R1,500 recabling |
| Unsafe mounting | Dish falls in storm – roof damage | R2,000+ repairs + new installation |
Our DStv signal repairs team fixes DIY mistakes daily. Don’t learn the hard way – professional installation from the start saves money and frustration.
6. Special Considerations for Different Property Types
Your DStv installation requirements may vary depending on where you live. Here’s what to consider for different property types in Centurion and surrounding areas.
Complexes & Estates
- HOA approval: Most estates require written permission. We’ve installed in Midstream, Silver Lakes, Waterkloof, and dozens more – we know the rules.
- Communal systems: Some complexes have shared dishes. Our communal DStv installation team can connect you.
- Designated areas: Many estates have approved dish locations – ask your HOA before we arrive.
Houses with Mature Gardens
- Tree growth: Large trees in established suburbs like Irene and Faerie Glen can block signal. We’ll find the best alternative spot.
- Heritage considerations: Older homes may have restrictions. Our team is experienced with sensitive installations.
Townhouses & Cluster Homes
- Shared walls: Cable routing may need special consideration. We can install extra TV points within your unit only.
- Body corporate rules: Most townhouse complexes have specific guidelines. We handle all paperwork.
Rental Properties
- Landlord permission: Always get written consent before installation.
- Removable installation: We can use non-permanent mounting options if needed.
- Take-down service: When you move, our DStv relocation services can safely remove and reinstall at your new home.
7. Future-Proofing: Plan for Tomorrow’s Needs
A little extra planning now can save thousands later. Consider these future needs:
Multi-Room Viewing
Even if you only need one TV now, installing a quad LNB and extra cabling during your initial satellite dish installation makes adding Extra View setup much cheaper later. The additional cost now is minimal compared to a separate installation later.
4K & Explora Ultra
If you might upgrade to Explora Ultra installation in the future, ensure your cabling is high-quality. We always install RG6 quad-shield cable – future-proof for 4K signals.
Streaming & DStv Internet
Many homes now want DStv Internet and streaming capabilities. Consider having Ethernet cabling run to your TV location – much more reliable than WiFi. Our team can advise on the best setup.
TV Wall Mounting
If you’re planning to wall-mount your TV, it’s best to do this before or during DStv installation. Our TV mounting services can be bundled for a discount.
8. Frequently Asked Questions
Technically yes, but we strongly advise against it. Our how to install DStv guide shows the complexity. DIY often leads to signal issues, equipment damage, and voided warranties. Professional installation ensures everything works perfectly the first time.
2 rooms: 2-3 hours | 3 rooms: 3-4 hours | 4 rooms: 4-5 hours. Times vary based on cable routing complexity and wall types. Our Extra View installation team works efficiently to minimize disruption.
Yes, but you may need body corporate approval. We’ve installed in complexes throughout Centurion, Midstream, and Pretoria East. Contact your HOA first, and we can help with any required paperwork. See our communal DStv installation page for more.
HD decoder installation is simpler – basic connection and channel scan. Explora decoder setup includes internet configuration, streaming app setup, and recording features. Both require the same physical installation of dish and cabling.
We always provide itemised quotes before starting any work. If unexpected issues arise (e.g., need for longer cables, wall fishing), we’ll discuss options and pricing before proceeding. No surprises. Our DStv installation costs guide explains all potential fees.
Our team is equipped for challenging roof access, but very high or steep roofs may require special equipment. Tell us about your roof type when booking so we can quote accurately. See our roof installation guide for more.
We accept cash, EFT, and card payments on site. For larger installations, we can arrange split payments – contact us to discuss. Request a DStv quote for detailed pricing.
We cover all Centurion suburbs, Pretoria East, and surrounding areas including Midstream, Irene, Silver Lakes, Garsfontein, Waterkloof, and many more. Call us to check your specific location.
9. Your Complete DStv Installation Checklist
Here’s a printable summary of everything we’ve covered:
☐ Week Before Installation
- ☐ Check HOA/estate requirements
- ☐ Obtain body corporate approval if needed
- ☐ Clear northern sky access
- ☐ Measure cable distance (if over 15m, tell us)
- ☐ Test power outlets near TV
- ☐ Check WiFi signal at TV location
☐ Day Before Installation
- ☐ Clear work areas (indoor and outdoor)
- ☐ Secure pets
- ☐ Have remote/gate access ready
- ☐ Prepare questions for technician
- ☐ Ensure DStv smartcard is available
☐ Installation Day
- ☐ Be home or have responsible person present
- ☐ Keep children away from work areas
- ☐ Have ID and subscription details ready
- ☐ Mark desired cable routes with tape
- ☐ Enjoy your new DStv system!
Ready for a Hassle-Free DStv Installation?
Now that you know exactly what’s needed, let’s get your installation scheduled. Our team serves all Centurion and Pretoria East suburbs with same-day service available.
R250 call-out fee (credited to installation) | 12-month warranty | Same-day service available
Part of the ServiceLink SA trusted technician network – verified, insured, and guaranteed.